Creating DIY outdoor furniture covers is not just a cost-effective and customizable way to protect your patio or garden furniture from the elements; it also offers the satisfaction of tailoring something specifically for your space and needs. Unlike store-bought covers, making your own allows you to choose materials and designs that perfectly match your outdoor décor and withstand local weather conditions. This guide will outline the process, empowering you to create something unique and durable.
Required Materials:
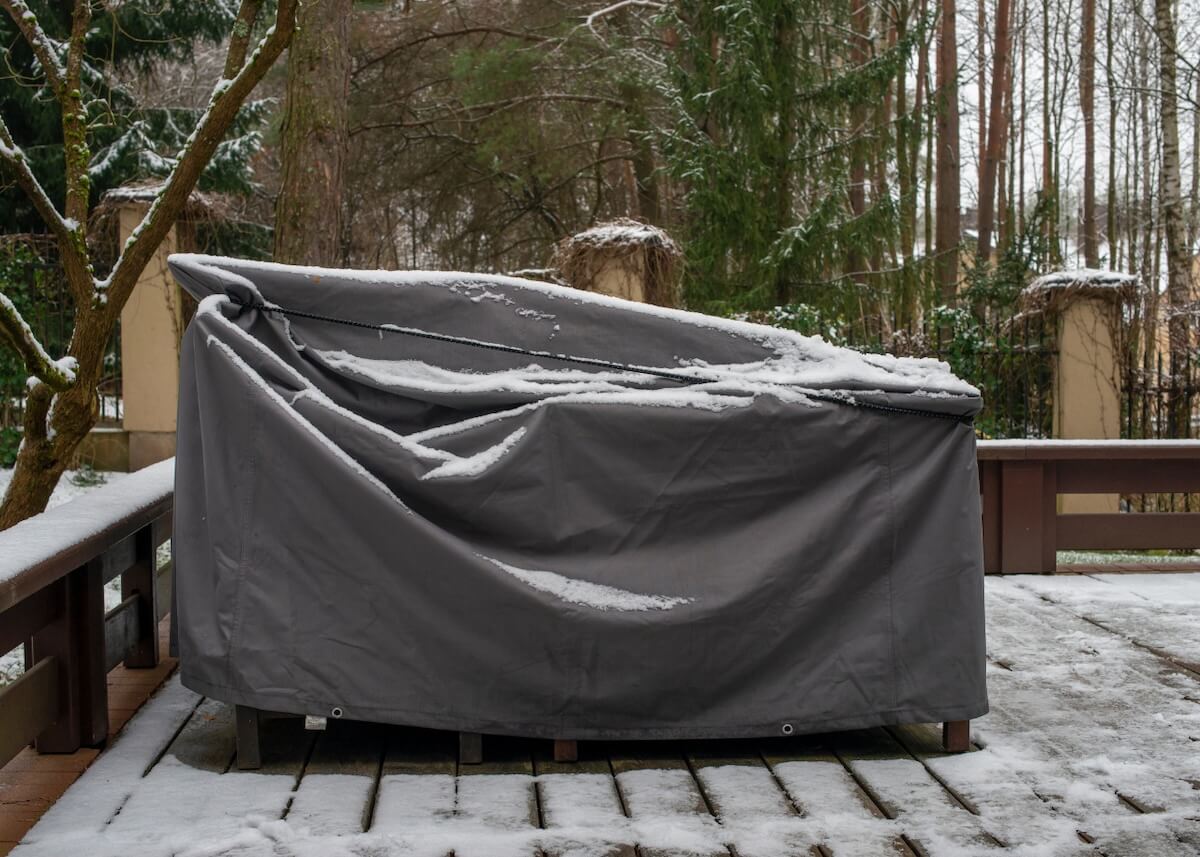
- Waterproof or Water-Resistant Fabric: Choose a durable material like canvas, polyester, or nylon. The amount depends on the size and number of furniture pieces you must cover.
- Measuring Tape: For accurate measurements of your furniture.
- Scissors: To cut the fabric. Make sure you have the proper scissors for the type of fabric you are using.
- Sewing Machine: For stitching the fabric. If you don’t have a sewing machine, you can use heavy-duty, weather-resistant thread and needle for hand sewing or bungee cords to securely wrap the cover to the furniture.
- Thread: Ensure it’s suitable for outdoor use and matches your fabric.
- Velcro or Ties: To secure the covers onto the furniture.
- Elastic Hem Cord (Optional): For a snug fit around the bottom of the furniture.
Let’s Get Started:
Step 1: Measuring Your Furniture
- Accuracy is Key: Measure each piece of furniture’s height, width, and depth. Add a few inches to each measurement to ensure the cover will not be too tight and can be easily removed or put on.
Step 2: Cutting the Fabric
- Pattern Making: Lay out your fabric on a flat surface. Mark the measurements with chalk or a fabric marker, considering seam allowances.
- Cutting: Use the scissors to cut the fabric according to your markings.
Step 3: Sewing the Covers
- Stitching: Start sewing the pieces together, ensuring you have inside-out stitching for a neat finish. Double-stitch at the seams for extra durability.
- Hemming: Hem the bottom edges to prevent fraying.
- Not a fan of sewing? Try an outdoor fabric hem tape or iron-on tape, but make sure the tape is suitable for outdoor weather conditions.
Step 4: Adding Fasteners
- Velcro/Ties: Sew Velcro strips or ties at strategic points like the corners or sides to secure the cover around the furniture.
- Elastic Hem Cord/Bungee Cord: If using, thread the cord through the hem at the bottom of the cover for a snug fit.
Step 5: Fitting and Adjusting
- Test Fit: Once completed, try the cover on the furniture piece. Adjust if necessary, ensuring a good fit without being overly tight.
Step 6: Maintenance
- Cleaning: Regularly clean the covers by wiping them down or washing them according to the fabric’s care instructions.
- Storage: When not in use, store the covers in a dry, cool place to prevent mildew and fading.
Tips and Tricks:
- Fabric Choice: Consider the climate in your area. In sunny areas, UV-resistant fabric is an excellent choice to prevent fading.
- Reinforcement: Consider reinforcing the covers with additional lining or waterproofing sprays for areas prone to extreme weather.
- Decoration: Feel free to add decorative elements like piping or trim for a more personalized touch.
- Repurposing: Old waterproof or outdoor fabrics can be repurposed for this project.
DIY outdoor furniture covers is worth the time, the effort can save money and extend the life of your outdoor furniture. With basic sewing skills and the right materials, you can create custom covers that fit perfectly and match your outdoor décor. This project adds a protective layer to your furniture and allows for creativity and personalization in your outdoor space. Let’s get started; winter is on the way.